

Fontself Maker is to creative adults what Play-Doh is to kids: an instant classic, and a really fun thing to play with.
Install it on Photoshop CC 2017, and it can even become a powerful tool ;)
Dream, then draw
Whatever crazy lettering idea you may have, just do it. Use any tool or material you want. As long as you can picture it into an image, go ahead.

Prepare your lettering
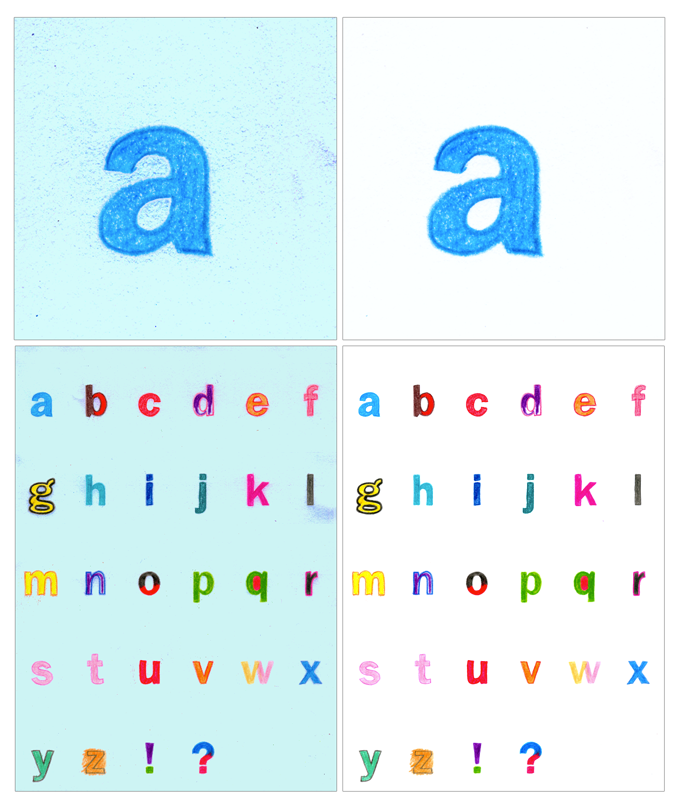
Once you’re done with the creative part, it’s time to import your artwork in Photoshop. If you’ve scanned or photographed your lettering, clean it a bit.
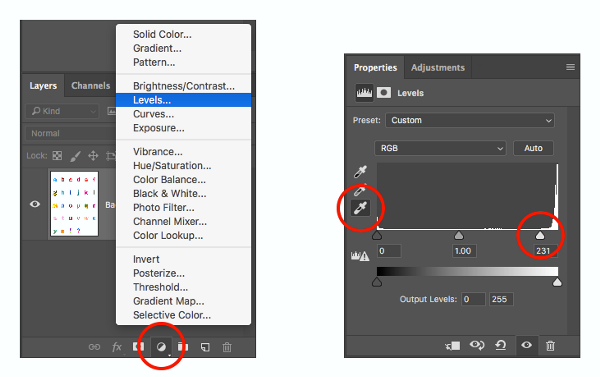
To easily remove the color background behind your letters, create a new Levels adjustment layer, pick the third Eyedropper tool in the Properties panel, and click on your image where your brightest point stands (this will set you white point). Then manually adjust with the right-side slider to fine-tune.
Once you’re done, go to Layer > Flatten Image. You now have a clean source image, with a perfect white background, ready to extract your lettering.
Extract your lettering
In most cases, you’ll probably want to remove the background behind your letters. There are countless methods to do so in Photoshop, but let’s try a simple one.
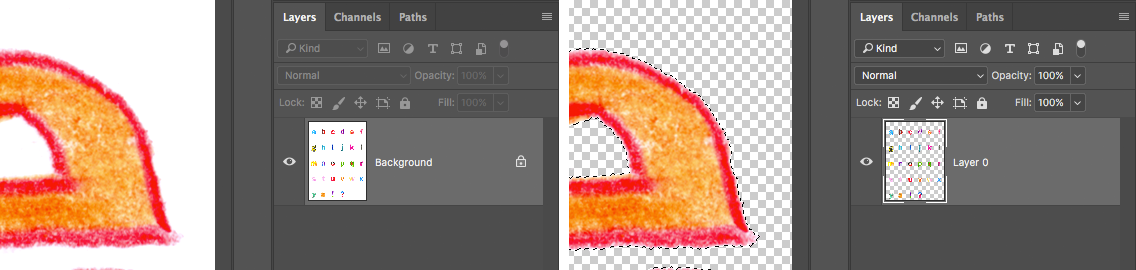
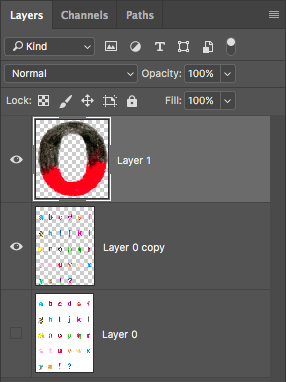
- Double click on your Background image in the Layers panel to turn it into a layer (this allows you to add transparency to your layer).
- Pick the Magic Wand Tool, set a Tolerance of 10, uncheck the Contiguousoption and click anywhere on the white background.

- Now go to Select > Inverse to revert the selection (this will select only your lettering) and press Select & Mask… in the toolbar.
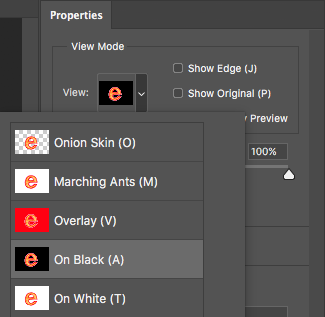
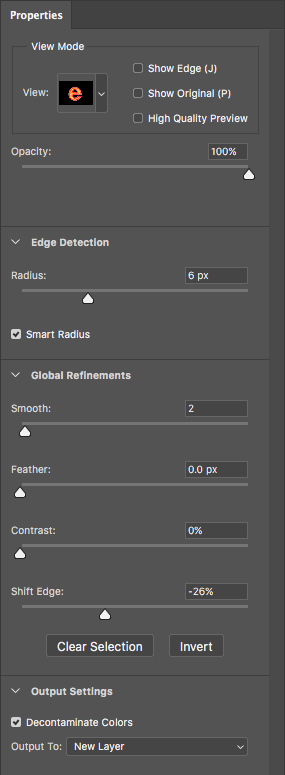
- To preview how Photoshop can extract your lettering, drag the Opacityslider to 100%, click on the image preview near the View Mode and pick the On Black mode to see your letters on a distinct background (rest assured, the output will be transparent ;)
- Time to play with a few settings (feel free to experiment with each slider, as they can dramatically impact the quality of your extraction).
- You’re almost done, now click Ok and enjoy the difference!
Isolate your letters
You’ve got a whole set of glyph wannabes on a single image layer? Let’s move these individual letter images into their own layer, so they can easily be identified as single characters.
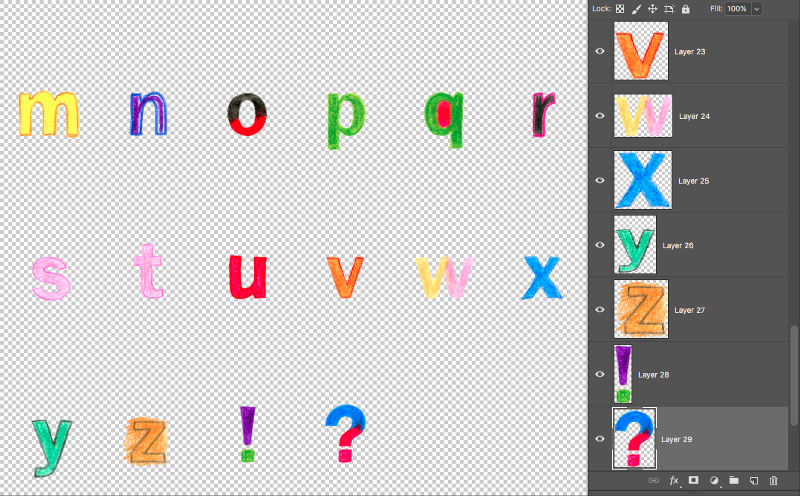
So how do you put each letter into its own layer?
Easy: just pick any selection tool — like the Rectangular Marquee Tool — and drag a selection around your first character. Press Cmd+J (or Ctrl+J on Windows) to duplicate the current selection into a new layer. Select your transparent letters layer again, and repeat the process with all the characters from your source image.
Congrats, you’re almost done! Stick with us & see how you can turn your lettering into an actual font.
Prepare your letters
To import each of your letters in Fontself, we recommend to use the fastest way to do so: by importing a whole series in one go. To do so, you need to align all your characters in a single row.

- If needed, go to Image > Canvas Size to extend your document’s width.
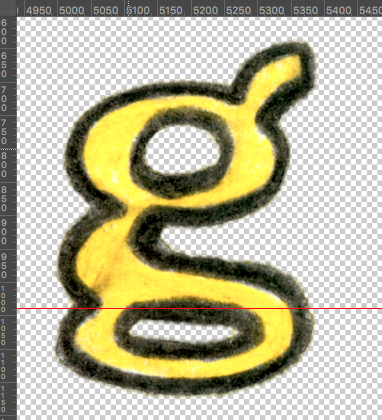
- You should also create a horizontal guide to ensure your letters are perfectly aligned: show the View > Rulers, and click & drag on the top ruler to create a new guide.
- Pick the Move Tool, click & drag a whole selection around a group of letters, and move them altogether.
Are you done? Then let’s have some more fun…
Now: the easy part.
Create a color font
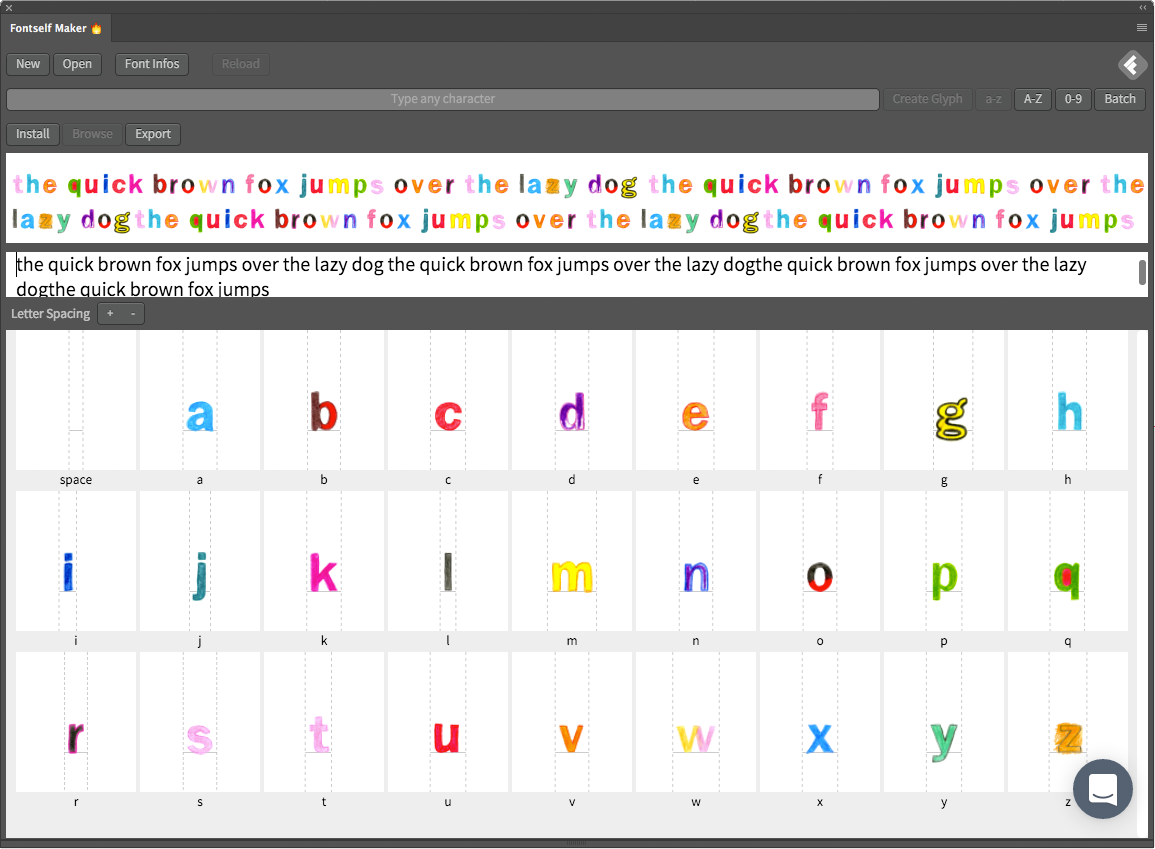
- Go to Window > Extensions > Fontself Maker
- Select the 26 layers of your alphabet & drag them on the Fontself panel.
You’re done ;)

Resize the Fontself panel to see your whole font in its full glory:
Use your color font
(Because, yes, that’s the whole purpose of creating fonts…)
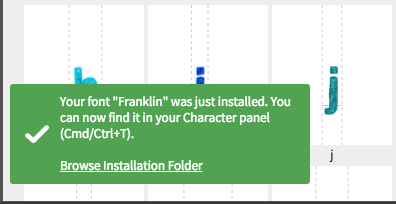
- Press the Install button in the Fontself panel.
- Type a name for your font.
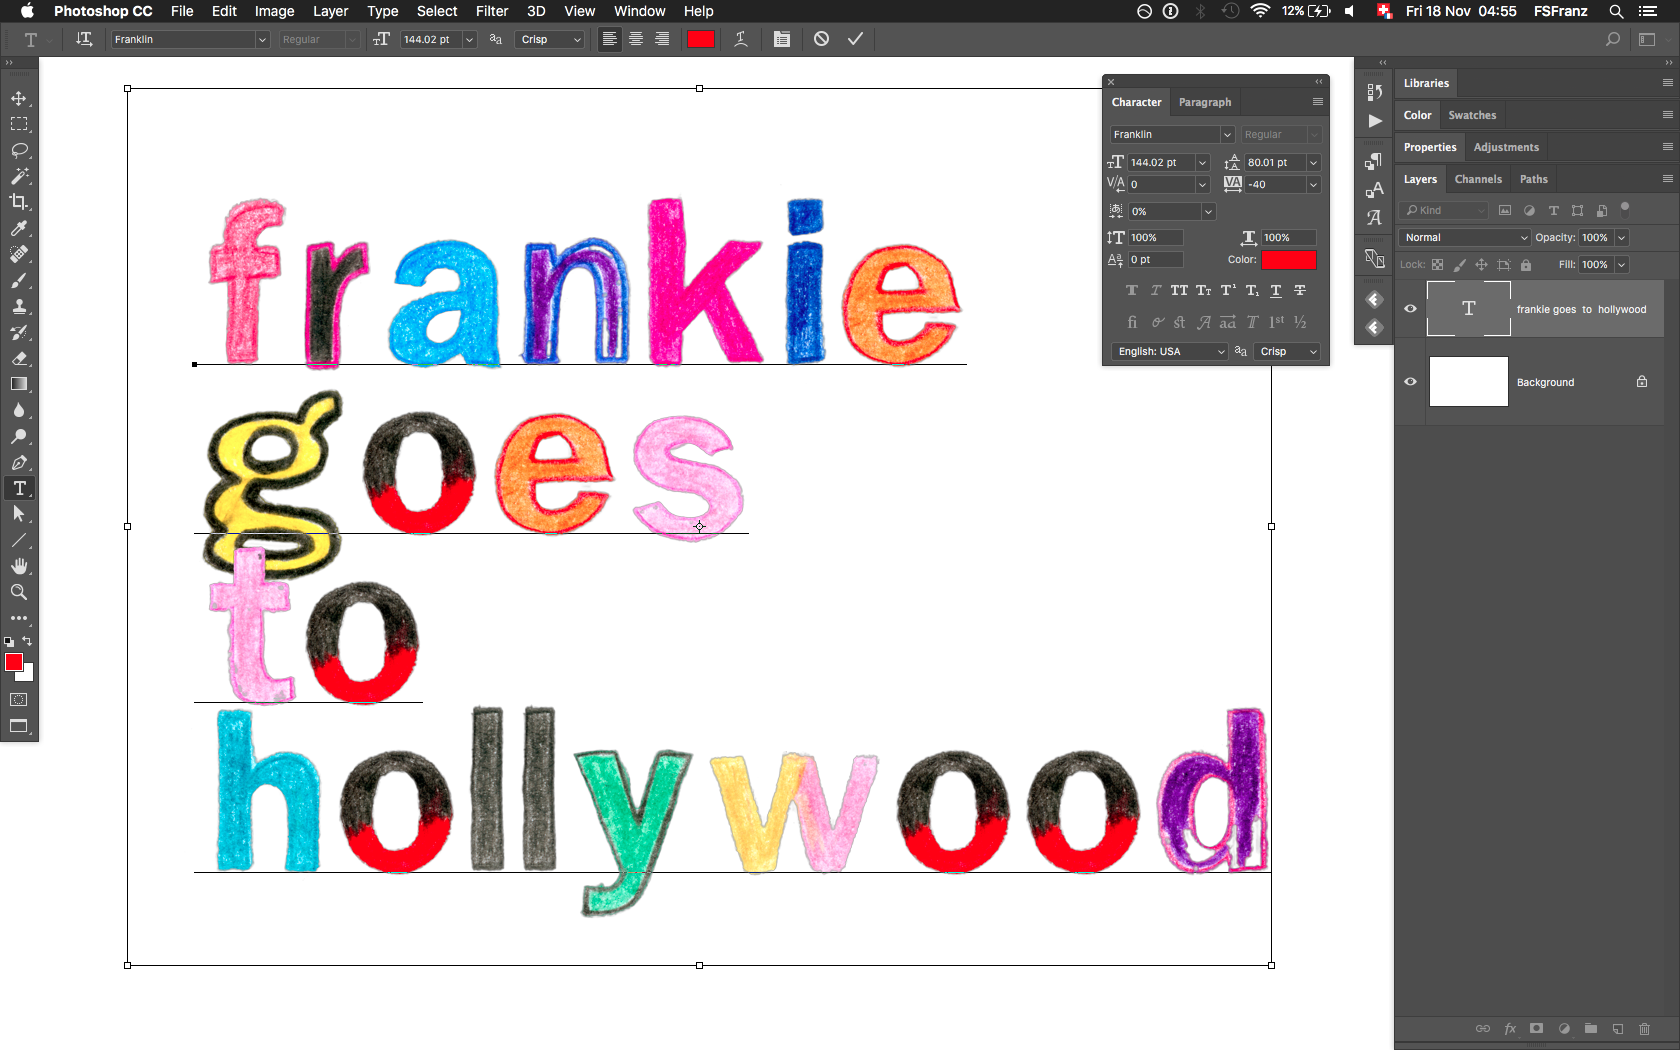
- Pick the Text Tool in Photoshop.
- Pick your color font.
- Type some text.
And now? Enjoy!
PS-1: looking for more detailed insights about making vector & bitmap fonts in Photoshop? Check our next article.
PS: supa mega thank you to Joël Galeran & Mohamed Ghenania, the crazy ones who joined me (Franz Hoffman) on this new chapter of the Fontself adventure.
PS1: thanks to Pierre Terrier who had designed and drawn this colorful Franklin lettering back in 2007, when we’d just started a home-brewed research project called FontYourself — with another talented mate, Marc Escher. This whole Fontself thing would never have been possible if we didn’t have started messing with pixels & fonts early on.
PS2: thanks to all the folks at Adobe for making such wonderful tools, and one in particular, Photoshop. It is a creative’s dream toolbox, and we can’t wait to keep hacking it with many more colorful features ;)
PS3: Did you enjoy this post? Thanks for tapping on the ♡ button to recommend it to your friends.

